

Avocado is already known as one of the healthiest fruits in the world, but many people are now discovering the…
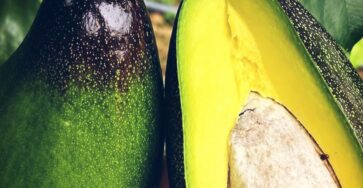
Amazing Benefits of Avocado: Why This Superfood Deserves a Place in Your Daily Diet
Avocado has become one of the most popular superfoods in the world — and for good reason. This creamy green…

This Natural Tea May Help You Feel Lighter and Less Bloated – Like a Gentle “Natural Lipo”
any people struggle with stubborn belly bloating, water retention, and a feeling of heaviness even when they try to eat…
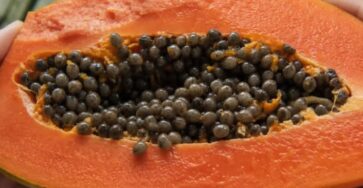
Papaya Seeds for Intestinal Parasites: A Traditional Natural Remedy for Digestive Health
apaya is widely appreciated for its sweet taste and digestive benefits, but many people are surprised to learn that papaya…

Bay Leaf Benefits for Health: Why Laurel Has Been Used for Centuries
Today, many people enjoy bay leaf tea and natural remedies made from laurel because of its rich content of antioxidants,…

Best Medicinal Plants for Prostate Health: Natural Remedies That May Help Relieve Symptoms
rostate problems are increasingly common among men, especially after the age of 40. Conditions such as benign prostatic hyperplasia (BPH),…
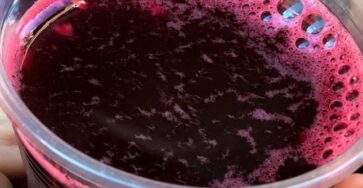
Drink This for 30 Days and Feel the Difference: A Natural Beetroot Recipe for Energy, Joint Comfort, and Heart Health
any people dream of finding a natural drink that can help reduce fatigue, support healthy cholesterol levels, and ease joint…

The “Seed That Cures Everything Except Death”: Benefits of Black Seed (Nigella Sativa)
For centuries, black seed — scientifically known as Nigella sativa — has been praised in traditional medicine systems across the Middle East,…
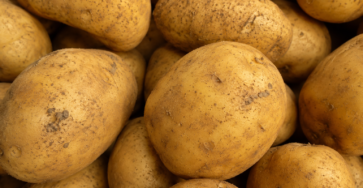
Potatoes: The Comfort Food Packed With Surprising Health Benefits
Potatoes are one of the most loved foods in the world. From crispy fries to creamy mashed potatoes, this humble…

Aunt Susan always brought this to our family gatherings and it was the first thing to disappear. I finally got her to share the secret and it is so ri
This caramel apple fluff is one of those retro-style desserts that shows up at every Midwestern family gathering and vanishes…